This blog is about the basics of deploying and using a parallel file system on a public cloud. For this experiment, Lustre file system is selected on a public cloud Microsoft Azure. The easiest way to use Lustre in Azure is to deploy Intel Cloud Edition for Lustre on Microsoft Azure Virtual Machines.
What is Lustre?
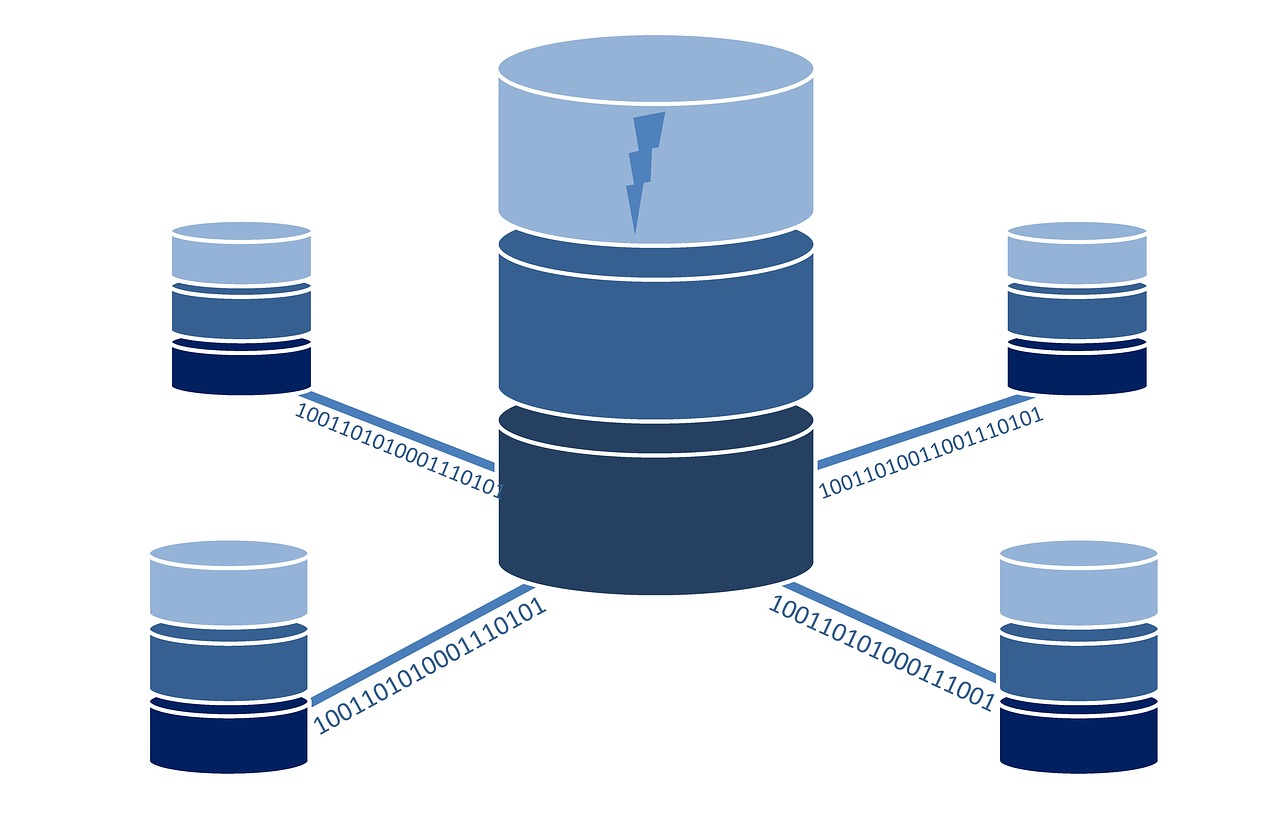
Lustre is the most popular parallel filesystem used in High Performance Computing (HPC) environments.
Such environments are used in compute intensive workloads generated by the industries like CAE, CFD, weather forecasting, oil exploration, energy production and seismic modeling, financial analysis, biotechnology etc. to name a few. Such workloads generate huge data. Lustre file system stores data in a distributed fashion – on multiple disks attached to multiple servers. So it is scalable in terms of performance and storage capacity for HPC clusters having hundreds of cores. The data is stripped across several disks attached to multiple servers when it is written. This parallelism provides high write throughput for multiple clients writing to same large files. While reading also, the data is read from multiple disks thus increasing the aggregate read throughput.
Lustre is also highly available and has built in recovery mechanisms.
Deploying Intel cloud Edition for Lustre to Azure:
Lustre file system is comprised of below mentioned building blocks:
- Management Server (MGS) : Manages one or more Lustre file systems. In case of Intel Cloud Edition for Lustre, it also hosts management utilities like Ganglia and Lustre monitoring tool which provide web interface for managing Lustre file system.
- Metadata Server (MDS): It provides metadata to Lustre clients. It is aware of how the data is stored across the cluster.
- Metadata Target (MDT): Storage device that stores the metadata.
- Object Storage Server (OSS): Stores actual file data.
- Object Storage Target (OST): Storage device that stores the data.
- Lustre Clients : Compute nodes that use Lustre file system through MGS/MDS/OS
Basic steps we need to follow while deploying Lustre to Azure are as below:
1. Deploy Intel Cloud Edition for Lustre from Azure marketplace. This will deploy MGS, MDS, OSS.
Note: DS or GS series VMs should be selected as they have support for the premium storage.
2. Deploying Lustre clients from Github ARM template. Below is an example of a opensource quickstart template:
https://github.com/Azure/azure-quickstart-templates/tree/master/intel-lustre-clients-on-centos
You will need below information from step 1 about the Lustre servers:
MGS server private IP address
Lustre Servers Resource Group Name
Lustre Servers Virtual Network Name
Lustre Servers Virtual Network Clients Subnet Name
Basic Lustre commands:
Below are few basic Lustre commands along with their output. These commands should get you started.
Connect to any Lustre client VM using SSH to execute these commands.
Note: These commands are executed in an Azure Lustre environment consisting of an MGS, MDS, 2 OSS and 2 Lustre clients. MDS and OSS VMs had 3 disks attached to them for MDT and OST.
1. Finding out where Lustre file system is mounted on the client:
[root@lustreclient1client0 ~]$ df –h
Filesystem Size Used Avail Use% Mounted on
/dev/sda1 30G 1.7G 27G 6% /
devtmpfs 3.4G 0 3.4G 0% /dev
tmpfs 3.5G 0 3.5G 0% /dev/shm
tmpfs 3.5G 17M 3.4G 1% /run
tmpfs 3.5G 0 3.5G 0% /sys/fs/cgroup
/dev/sdb1 99G 61M 94G 1% /mnt/resource
tmpfs 698M 0 698M 0% /run/user/0
10.3.0.4@tcp:/scratch 763G 765M 723G 1% /mnt/scratch
stmpfs 698M 0 698M 0% /run/user/1000
In this case, the Lustre file system is mounted on /mnt/scratch directory of the client.
2. Checking status of MDTs and OSTs:
[root@lustreclient1client0 scratch]# lfs check servers
scratch-MDT0000-mdc-ffff88027e822000 active.
scratch-OST0003-osc-ffff88027e822000 active.
scratch-OST0004-osc-ffff88027e822000 active.
scratch-OST0005-osc-ffff88027e822000 active.
scratch-OST0000-osc-ffff88027e822000 active.
scratch-OST0001-osc-ffff88027e822000 active.
scratch-OST0002-osc-ffff88027e822000 active.
- Checking the disk usage of each MDT and OST storage device:
[root@lustreclient1client0 scratch]# lfs df -h
UUID bytes Used Available Use% Mounted on
scratch-MDT0000_UUID 92.0G 65.4M 85.4G 0% /mnt/scratch[MDT:0]
scratch-OST0000_UUID 127.1G 260.7M 120.2G 0% /mnt/scratch[OST:0]
scratch-OST0001_UUID 127.1G 60.7M 120.4G 0% /mnt/scratch[OST:1]
scratch-OST0002_UUID 127.1G 60.7M 120.4G 0% /mnt/scratch[OST:2]
scratch-OST0003_UUID 127.1G 60.7M 120.4G 0% /mnt/scratch[OST:3]
scratch-OST0004_UUID 127.1G 260.7M 120.2G 0% /mnt/scratch[OST:4]
scratch-OST0005_UUID 127.1G 60.7M 120.4G 0% /mnt/scratch[OST:5]
filesystem summary: 762.8G 764.0M 722.2G 0% /mnt/scratch
- Viewing and setting the striping information for a lustre file:
Create a directory under the Lustre file system:
mkdir /mnt/scratch/test
Set striping count. Here we use count of -1 to denote that striping should happen across all OSTs.
lfs setstripe -c -1 test
Create a file of size 10G in ext4 file system as a test file. Move this file to Lustre file system:
fallocate -l 10G /root/bigfile.img
mv /root/bigfile.img /mnt/scratch/test
View striping information for the file:
[root@lustreclient1client0 test]# lfs getstripe bigfile.img
bigfile.img
lmm_stripe_count: 6
lmm_stripe_size: 1048576
lmm_pattern: 1
lmm_layout_gen: 0
lmm_stripe_offset: 5
obdidx objid objid group
5 40 0x28 0
2 40 0x28 0
3 40 0x28 0
0 41 0x29 0
4 41 0x29 0
1 40 0x28 0
If you print the Lustre file system space usage, then you can see that the file is spread across all the OSTs:
[root@lustreclient1client0 test]# lfs df -h
UUID bytes Used Available Use% Mounted on
scratch-MDT0000_UUID 92.0G 65.4M 85.4G 0% /mnt/scratch[MDT:0]
scratch-OST0000_UUID 127.1G 1.9G 118.6G 2% /mnt/scratch[OST:0]
scratch-OST0001_UUID 127.1G 1.7G 118.8G 1% /mnt/scratch[OST:1]
scratch-OST0002_UUID 127.1G 1.7G 118.8G 1% /mnt/scratch[OST:2]
scratch-OST0003_UUID 127.1G 1.7G 118.8G 1% /mnt/scratch[OST:3]
scratch-OST0004_UUID 127.1G 1.9G 118.6G 2% /mnt/scratch[OST:4]
scratch-OST0005_UUID 127.1G 1.7G 118.8G 1% /mnt/scratch[OST:5]
filesystem summary: 762.8G 10.7G 712.2G 1% /mnt/scratch
Hence, you can easily deploy a parallel file system on a Public cloud for your High Performance Computing needs.
